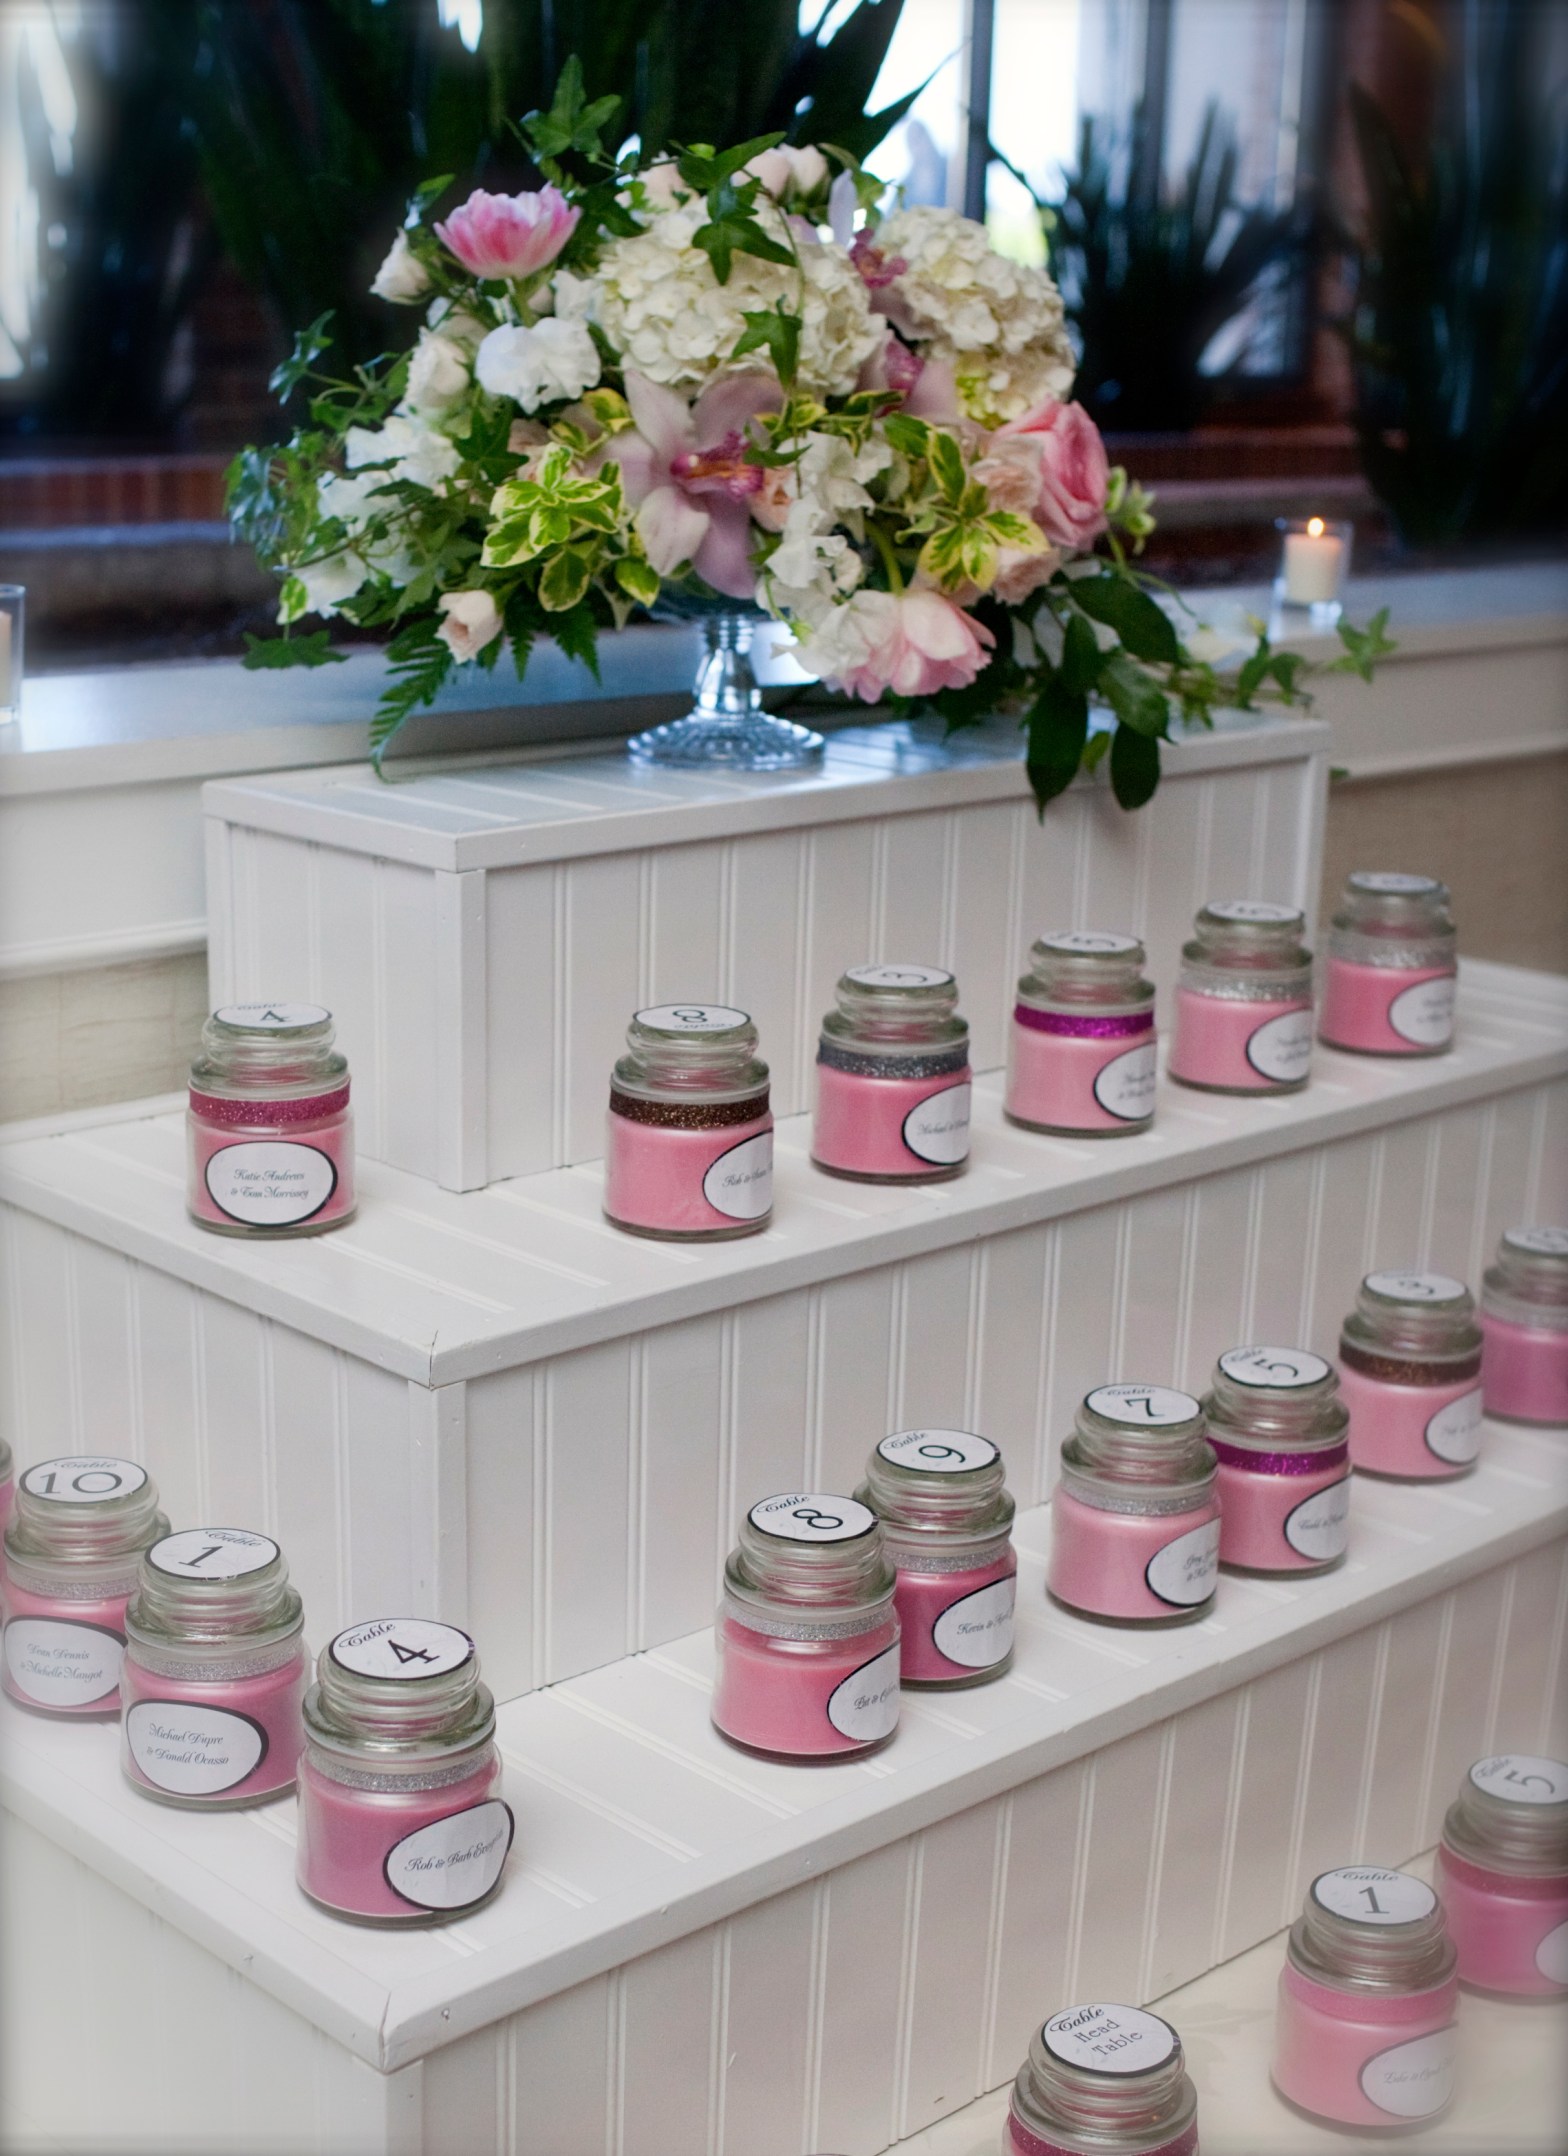
My wedding day was two years ago this week, so I thought I would post about a fun wedding idea that we had for our special day. One of the first projects we started was making small soy candles to be used as a combination place card and gift for our guests. I had made soy jar candles in the past but never in a large quantity at once – it was quite an undertaking! But not all that much work. It took a few hours after work each night for about a week or so to make the 60 candles after we had figured out the right recipe of wax to color to scent.
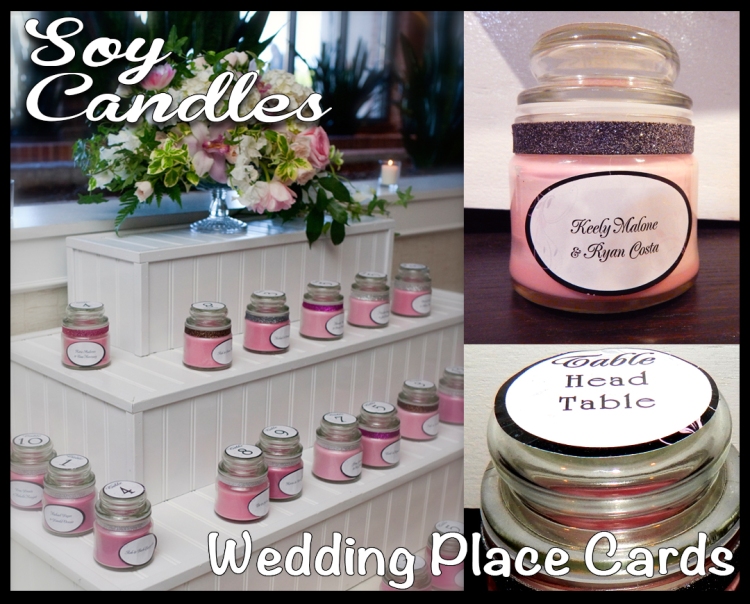
I ordered a few scent samples from the wax company before I placed the order for the large bottles. This part was a lot of fun – I felt like a celebrity designing my own perfume. I wanted a light floral scent so I combined Lilac and Lilly of the Valley with a touch of Spring Rain. The scent of the candles filled the reception area at the wedding and it was a nice affect with the fresh flowers that were on display. Each batch of candles (we made about 6 at a time) was a slightly different shade than the next so it had a nice variation or color. We also added some pink and silvery gray ribbons around the base of the jars to go with our wedding colors. The labels matched our invitations.
I’ve added links to the products I used in the instructions below.
Ingredients & Tools
- Wax
- Jars or heat-safe glass containers
- Wicks – I buy the pre-threaded kind
- Dye
- Fragrance oil
- Wax melting pot
- Thermometer (a cooking thermometer will work)
Additional Optional tools that come in handy
Steps in making your soy wax container candle.
- Stick the wicks. Use a glue gun to stick the wicks in the center of the bottom of the jars. Make sure you get rid of any extra glue “hairs” that the gun might leave behind after the glue has cooled. If you do not, they could cause the wick to lean to one site. You can also use “wick stickers” that can be ordered online, but I’ve never tried them.
- Melt the wax. In my experience, the best way to melt the wax is by placing the wax melting pot in an old pot (don’t use a good pot, you’ll end up getting wax all over it!) with a little bit of water in it. You don’t want to put the wax pot directly on the stove. Bring the water to a low boil and using a wooden spoon that from this point on will only ever be a wax spoon, (you won’t want it back) stir the wax as it starts to melt. Once all the chunks are melted, check the wax temperature. It needs to reach about 175 degrees and stay at that temp for about five minutes.
- Color time. After the wax has cooked at 175 for five minutes, you can add a few drops of dye or dye chips. The wax may look yellowy clear when its melted but keep in mind that it is white when it is a solid, so you may need to add a little extra dye if you want a dark candle. I wanted pink for my wedding so I only used a few drops. Be sure to stir the wax with the dye so you get an even blend.
- Scentational. Turn off the heat and allow the temperature to cool to 160 degrees. Then add your selected fragrance, or in my case, blend of fragrances, stirring very well. Most sites will tell you to use about 1 oz. of fragrance for each pound of soy wax.
- Pour me a hot one. When the temperature reaches 150 degrees, slowly pour into each of your waiting jars. Then immediately straighten the wick and hold it in place with a wick sticker, a few wooden skewers, or popsicle sticks, etc.
- Wait for it. Allow the candles to sit for 24-48 hours and then trim the wicks to about ¼ inch.
Additional instructions may come with different types of wax – please follow the manufacturer’s instructions as I am not a pro at this stuff!


What a great idea! Cute and useful!
LikeLike